Consumer
- Smart HMI
-
Re-Timer IC for USB4® Devices

-
HMI Platforms and Graphical Libraries Introduction
-
Wireless Smart Thermostat
- Gaming Lighting and Cooling Fans Control
-
New HMI Platform NuMaker-HMI-MA35D1
- GPS Tracker for Pet
- Soy-milk Maker Driver
-
Bluetooth Toothbrush Reference Design
- CSP MOSFET
- TWS Charging Box
- M031BT dual mode gaming mouse solution
- Four-in-one Smart Electronic Lock
- Advance Headset
- Baby Gear
- DSC / DVC
- DVR
- ELA
- Game Console
- Home Appliance
- Media Box
- Micro Printer
- Security Panel
- Smart Phone payment
- Smoke / CO Detector
- Sound Bar
- Toy
- Video Baby Monitor
- Voice Recognition
- WiFi CAM
- Kitchen Heating Appliance
- Wireless Charging
- Half-bridge Induction Cooker
- Smart Projector
- Laser TV
- 6-claw Robot
- Smart Plug
- USB Car Driving Simulator System
Industrial
- 48V Industrial Fan Motor Driver
- Totem Pole LLC EVB
- ARGB Fan Driver
- New Energy Gateway
- Industrial Weight scale
- Power Measurement
- Power Delivery 3.0 compliant DC Fan
-
MA35D1 HDMI Video Playback
- Digital Power Control
- Industrial Battery Monitoring IC
- NUC980 OpenWrt Graphical Gateway
- DALI Ecosystem - Control Gears and Devices
-
DALI Ecosystem - Application Controller
- High Voltage Fan Driver
-
Low Voltage Fan Driver
- Motor Parameter Identify Tool
-
Totem Pole PFC Reference Board
- Motor Driver
- Electric Scooter
- Air Purifier
- Out-of-band (OOB) Management Solution for Edge Devices
- Edge Computing for License Plate Recognition
- USB Type-C PD 3.0 TCPC and TCPM Solution
-
Battery Management System
- RF-GaN PA Module for 5G Base Station
- Servo Driver Module
- Elevator Call Board
-
Thermostat with Touch Key
- LoRaWAN ECO System
- DALI Digital Lighting Control
- Low Power ML51 Series Electronic Shelf Label
- Interactive Human Machine Interface Solution
- Plug and Play Iindustrial Measurement Development Platform
- IoT Development Platform
- NB-IoT IoT Development Platform
- Industrial Remote Terminal Unit
- Smart Water Meter
- Label Printer
- Face Recognition Attendance Machines
- 2D Bar Code Scanner
- Card Reader
- eBalance
- eBike
- Electricity Meter
- Face Recognition
- Fan / Ceiling Fan
- Fingerprint Identification
- Gas Meter
- Heat Meter
- POS
- QR Code Scanner
- Water Meter
- Smart battery management system
- BLDC Motor Control
- 8x8x8 LED Cube
- Door Access control system
- Elevator Control System
- LED Display
Smart Home Appliances
- TOF Solution
- M467 LVGL Display
- TFT Color Thermostat
- Virtual Reality (VR) Solution
- HDMI2.1 4x2 Matrix Solution
-
TOF sensing solution
-
Cold Chain Data Logger
- Color Display Wi-Fi Thermostat
- Smart Home Central Control utilizing IoT and Color Screen
- Smart Home Appliances with Video Playing Function
- Multi-Cloud Connection Platform
- TFT Thermostat
- Wireless Power Supply and Data Transfer Solution
- Machine Learning
- Intelligent Power Station
- PM2.5 Module
- OLED Display - GIF Format Decode (LZW) Supported
- Smart Toilet
IoT Security
- Matter for IT Monitor with Security
- M2354 for RTOS + PSA TF-M
- Cold Wallet Security
- CCTV VPN Security Module
- IoT Cloud-Ready Wireless Module
- Smart Sound Box
- IoT Secure Connection Solutions-1
- IoT Secure Connection Solutions-2
- Smart Meter for AMI 2.0
- Arm® Pelion Secure IoT Device Management Supported by M2351
- Fingerprint Secure IoT Door Lock
- USB FIDO Key for Identity Security
Audio / Video
- NSP2340T Voice Assistance with Touch Solution
- Smart Office UC Headset Solution
- Smart Office UC Speakerphone Solution
- NSP series voice assistance solution
- Noise reduction and echo cancellation solution
- Demo board template - ISD2361
- Bluetooth Audio
- Docking of iPhone / Android
- TV Audio
- WiFi A / V Streaming
- Wireless Microphone
- Wireless Speaker
Plug and Play Iindustrial Measurement Development Platform
-
 Training Learning Watch time - 4:0Take Nuvoton NuMaker-IIoT-NUC980 running Linux as the platform and learn how to develop various functions. Watch this video and you will learn how to install Buildroot for NuMaker-IIoT-NUC980 board before starting development. - For more information, please visit Nuvoton Technology Website: https://bit.ly/3hVdcmC Buy now: https://direct.nuvoton.com/tw/numaker-nuc980-iiot Contact us: SalesSupport@nuvoton.com #Training #Learning #Basic #en
 -
 Training Tool Learning Watch time - 3:24Hello everyone I am Chris, the Field Application Engineer from Nuvoton Technology. Today I will introduce the programming and debugging tool, called NuLink-Gang, and NuLink2-Pro. And I will show you in what kind of situation you can utilize the tools. During system development, Nuvoton provides three IDE interfaces: KEIL, IAR, and NuEclipse for user to develop source code. When programming the Chip, Nuvoton provides ICP programming Tool in PC and the debugger Nu-Link2-Pro for users to perform debugging and programming function. User who uses all of the Nuvoton Nu-Maker boards series can develop through the Nu-Link2-Me debugger and programmer; it’s attached to the board. During the mass-production stage, there are 2 modes for programming the target chip. One is online programming and the other is offline programming. At first, in online programming mode, user can use ICP programming Tool and a Nu-Link2-Pro to program a target chip. Besides, if it needs to program several chips at one times, the Nu-Link Command Tool supports program multiple develop board by several Nu-Link2-Pro. Nu-Link2-Pro also supports drag-and-drop Flash programming. User can intuitively complete the programming action. Nu-Link2-Pro In offline programming mode, user can pre-store the programming file in SPI flash, USB flash drive, or SD card. When user wants to program the target chip, pressing the programming button on Nu-Link2-Pro to complete the programming action. If it needs a large number of ICs to be programming, it recommends using the Nu-Link-Gang programmer. Nu-Link-Gang programmer can perform offline programming on four different chips at a time, significantly increasing the programming efficiency. Besides, Nu-Link-Gang programmer can also use the control bus to connect with an automatic programming machine for automatic programming. In the system upgrade, Nu-Link2-Pro also provides five standard communication interfaces such as SPI, I2C, UART, RS485, and CAN for transmission, which is convenient for users to upgrade the system. That’s all for the introduction of Nuvoton’s programming and debugging tool, NuLink-Gang, and NuLink2-Pro. Thank you for watching it. If you want to know more details, please contact us! Thank you. #Tool #Training #Learning #Intermediate #en - For more information, please visit Nuvoton Technology Website: https://bit.ly/3hVdcmC Buy now: https://direct.nuvoton.com/numaker-m251sd Contact us: SalesSupport@nuvoton.com
 -
 Product Application Webinar Watch time - 59:3Developing IoT devices can be a painful process. In this webinar, you will learn how to develop an IoT enabled device quickly and easily with Nuvoton IoT platforms. We will cover IoT device system architectures, security consideration, development kits for different cloud services, and the latest practices to bring your IoT products time to market quickly. Speaker: UE00 Senior Product Marketing Manager, Harry Chen - For more information, please visit Nuvoton Technology Website: https://bit.ly/3hVdcmC Buy now: https://bit.ly/3bk0AD8 Contact us: SalesSupport@nuvoton.com #Product #Application #Webinar #General #en
 -
 Application Learning Watch time - 4:3The purpose of video is to demonstrate functions of NuMaker-RTU-NUC980 within 5 minutes, including Ethernet webserver, Wi-Fi webserver, USB camera, and NFS function. If you get the NuMaker-RTU-NUC980 board, you can follow this video to implement all the functions #application #learning #intermediate #en - For more information, please visit: https://bit.ly/3hVdcmC Buy now: https://direct.nuvoton.com/tw/numaker-rtu-nuc980?search_query=Chili&results=1 Contact us: SalesSupport@nuvoton.com
 -
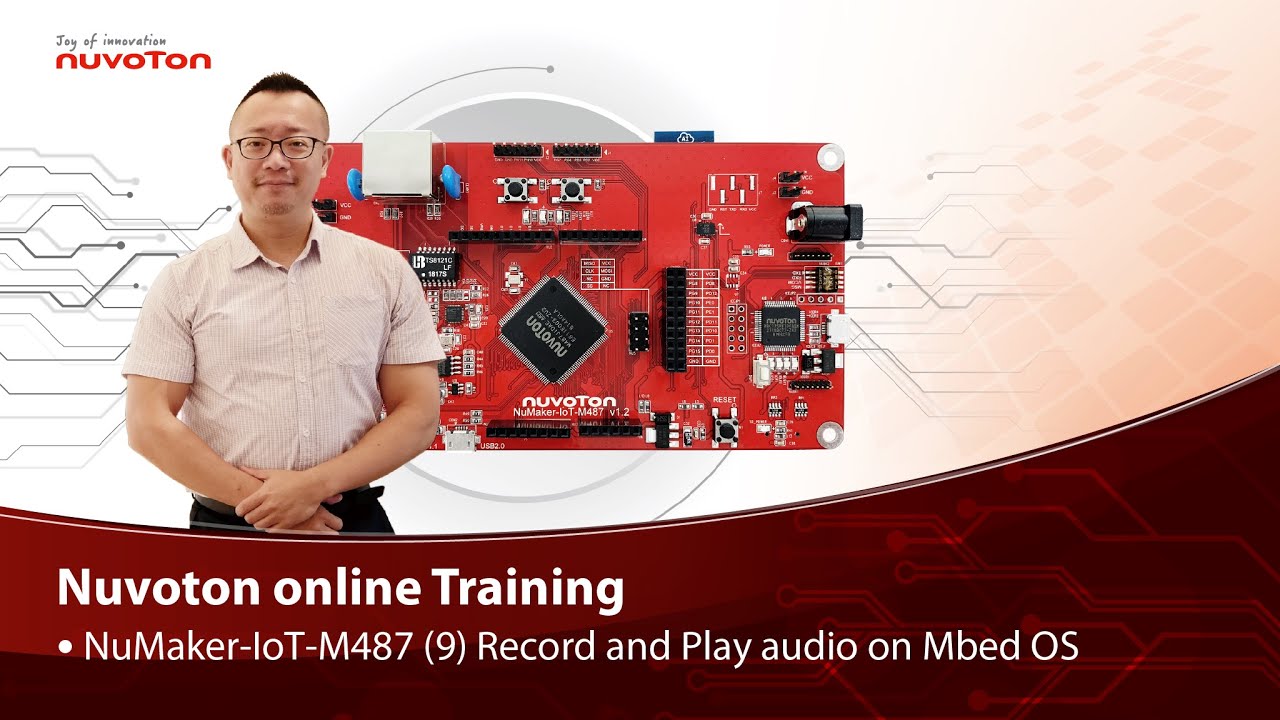 Training Tool Learning Watch time - 5:0Hello everyone, I am Morgan, the principal engineer of Nuvoton Technology. Today, I will show you how to record and play audio with Mbed OS on NuMaker-IoT-M487 development board. Open Chrome browser, and enter the URL https://ide.mbed.com to use the Mbed Online Compiler. After log in, make sure that NuMaker-IoT-M487 board already selected in the upper right corner. If not, please refer Nuvoton IoT Tutorial series “Get Started with Mbed OS” which has a detailed description of how to add a board. Click the “New” on the left of menu bar, a “Create new program” window will be displayed. You can see that the Platform has been set to NuMaker-IoT-M487. In the Template, select the "NuMaker audio playback" for this tutorial. Then click OK. Now you can see that the sample code has loaded on the page. The sample code has three functions: 1. Record 10 seconds sound and save to Micro SD card 2. Play sounds stored in Micro SD card 3. Loopback. Record sound and play it immediately. Click main.cpp to open it. Then scroll down to line 421. You can see the functions calls here. It set to loopback only. Let’s do a little modification. Hit a key on console to start record 10 seconds then play it, and then do loopback. printf("Press a key to start recording 10 seconds..."); getchar(); demo_record(); demo_play(); demo_loopback(); Save it and click “Compile” to build the code. Compilation takes a while, please wait. After the compilation is completed, “Success” will appear in the compile output window. The browser downloads the binary firmware file directly after a successful compiling. It will be saved in a default download folder. In Chrome, you can click download file and select “Show in folder”. Please plug an earphone commonly used for mobile phone in headphone jack on NuMaker-IoT-M487 board. For demonstration, we use a headphone splitter cable to connect a microphone and a speaker. Do not put the microphone and speaker too close to avoid feedback howling. Then connect the USB port to your computer and make sure the onboard LED lights up. Back to the folder you just download the binary firmware file (NuMaker-mbed-AudioPlayback-example.NUMAKER_IOT_M487.bin). Drag and drop the file to NuMicro MCU drive. You will see the copying progress dialog box. Please find the virtual COM port assigned for NuMaker-IoT-M487 in Device Manager. In the demonstration, the “Nu-Link Virtual Com Port” is COMx. Then use your favorite terminal tool. Here we use Putty. Open the COMx port with 9600 baud rate. And no flow control settings. Then “Open” it. Press “Reset” on board to run the firmware again. Press a key on terminal to start record. Speak for about 10 seconds, then your voice will be played. That’s all for this tutorial. Thank you for watching. Welcome to subscribe to our channel. If you want to get more information, please contact us “SalesSupport@nuvoton.com” - For more information, please visit Nuvoton Technology Website: https://bit.ly/3hVdcmC Buy now: https://direct.nuvoton.com/tw/numaker-iot-m487 Contact us: SalesSupport@nuvoton.com #tool #training #learning #intermediate #en
 -
 Training Tool Learning Watch time - 3:51Hello everyone, I am the principal engineer of Nuvoton Technology, Morgan. Today, I will show you how to use Mbed OS on the NuMaker-IoT-M487 development board to control LED and buttons. First, open Chrome browser, enter the URL https://ide.mbed.com. Please make sure that NuMaker-IoT-M487 board already selected in the upper right corner after you log in. If not, please refer Nuvoton IoT Tutorial series “Get Started with Mbed OS” which has a detailed description of how to add a board. Then click the “New” on the upper left, a “Create new program” window will be displayed. You can see that the Platform has been set to NuMaker-IoT-M487. In the Template field, select the "NuMaker GPIO Interrupt with Debounce Setting" for this tutorial. Then click OK. Now you can see that the sample code has loaded on the page. Click on “main.cpp”, this sample code uses SW2 button for demonstration. Click on “Compile” to build it. It is in compiling, please wait a moment. Then you can see a lot of messages at the bottom of the page. The last message is “Success!” The browser will download the binary firmware file directly after a successful compiling. It will be saved in a default download folder or the folder based on your browser setting. In Chrome, you can click download file and select “Show in folder”. Then we have to connect the NuMaker-IoT-M487 USB port to your computer and make sure the onboard LED lights up. Let’s head back to the download folder where you can see the binary firmware file (NuMaker-mbed-GPIO-Interrupt.NUMAKER_IOT_M487.bin). Drag and drop the file to NuMicro MCU drive. You will see the copying progress dialog box. Next step is to press the SW2 button on the board to toggle LED. You can see the reaction of each press. That’s all for this tutorial. Thank you for watching. Welcome to subscribe to our channel. If you want to know more information, please contact us at SalesSupport@nuvoton.com - For more information, please visit Nuvoton Technology Website: https://bit.ly/3hVdcmC Buy now: https://direct.nuvoton.com/tw/numaker-iot-m487 Contact us: SalesSupport@nuvoton.com #Tool #Training #Learning #Intermediate #en
 -
 Watch time - 5:46經由ADC量測Bandgap電壓,能夠反推電池的電壓,再搭配電池的規格文件,可得知產品目前所剩電量。另外,結合新唐晶片內部紀錄bandgap電壓的機制,可以消除不同晶片間的製程誤差,以得到更精準的電池電壓量測結果。 - 更多產品資訊,請至新唐科技網站 https://bit.ly/3hVdcmC 購買管道:https://direct.nuvoton.com/tw/ 聯絡我們: SalesSupport@nuvoton.com
 -
 Application Learning Watch time - 3:48The rich features of NuMaker IoT platforms have been certified by several RTOS and clouds. In this video, we introduce the NuMaker-IoT-M487 development board, supported OS and clouds, and an IoT demonstration. #Application #Learning #Basic #en - For more information, please visit Nuvoton Technology Website: https://bit.ly/3hVdcmC buy now: https://direct.nuvoton.com/tw/ contact us: SalesSupport@nuvoton.com
 -
 Product Application Webinar Watch time - 39:46In this webinar, we discussed the Nuvoton NuMaker IoT Platforms that are supporting Arm Mbed OS and Pelion Device Management services. We also showcased how you can use these reference designs to build and manage your smart IoT devices and applications. Host: Austin Blackstone, Lead Developer Evangelist - Arm Pelion / Mbed OS Speaker: Morgan Du, Principal Engineer - Nuvoton IoT Development Slides: https://drive.google.com/file/d/1xSSzc0RBZXPjgrEwlC53MFNNMK7vVBOB/view?usp=sharing Learn more about the Nuvoton IoT platform: https://bit.ly/3gRRvSX Learn more about the Nuvoton NuMaker-IoT-M487 platform: https://bit.ly/2QSafqW Shop the NuMaker-IoT-M487 development board: https://direct.nuvoton.com/en/numaker-iot-m487 #Product #Application #Webinar #General #en
 -
